|
|
A worked example showing image registration in action |
Image Registration - Worked Example 2

|
A Datamine eLearning course is available that covers functions described in this topic. Contact your local Datamine office for more details. |
Aligning an Image with a 3D Topography
The following topic provides an example of texture application using the Image Registration dialog.
In this example, you will load existing 3D topography data and use the Image Registration function to align an image with known reference points. To ensure the points are applied to the same elevation, a section will be created above the topography for alignment purposes.
Sample Data
If running Studio or Studio 5D Planner applications, sample data is already installed on your local system at the following location (assuming default settings were accepted during the install process):
-
C:\Database\DMTutorials\Data\VBOP
Detailed instructions on the location of specific data files will be provided below.
If running InTouch or InTouch, sample data can be downloaded from this location.
You will need to download the archive file and unpack it to the following location (creating folders as required):
-
C:\Database\InTouch_Test_Data
The locations for Studio, Studio 5D Planner, InTouch and InTouch will be referred to below as your "Sample Data Folder".
Example - Aligning an Image with a 3D Topography
With your application running and a 3D data display in view, open your Sample Data Folder using Windows Explorer.
Open the Datamine folder.
Left-click and drag the file _vb_itsurfacetr.dm into the data display window.
If the open pit wireframe is not visible in plan view at this point:- Go to your Sheets | 3D control panel (Studio, Studio 5D Planner) or your Workspace in 'Group by Type' mode ( InTouch).
- Right-click the _vb_ITPhoto-Texture.jpg entry and select Look At.
- In the View toolbar, select Plan
View.

The aim is to display the open pit design in plan view, maximized to the screen, as shown:
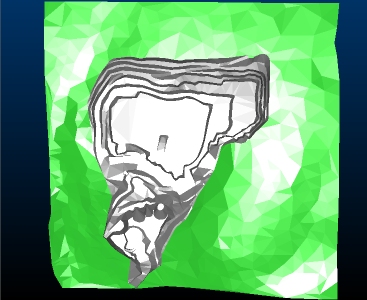
In the Wireframes folder, right-click the _vb_itsurfacetr/_vb_itsurfacept (wireframe) item and select _vb_itsurfacetr/_vb_itsurfacept (wireframe)Properties.
Select the ellipsis button on the right of the Texture field.
Locate your Sample Data folder.
In this folder, navigate to the Pics sub-folder and double-click the file _vb_ITPhoto_Texture_rotated.jpg.
Click OK and the texture is applied to the wireframe - note the incorrect alignment:
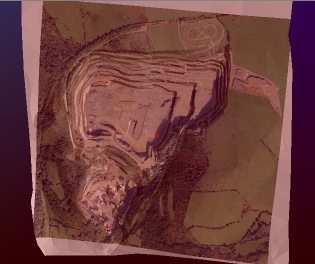
Now you can align the image. Right-click the loaded wireframe in the Sheets control bar or Workspace and select Texture Drape Settings.
In the Texture Drape Settings dialog, click Use Points....
The Image Registration dialog is displayed, showing a preview of the loaded image:
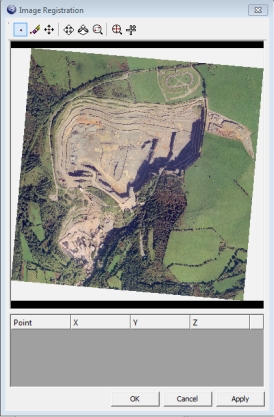
You will now define 3 points on the image that will be aligned with 3 landmark positions on the 3D wireframe surface.
Select the Zoom Area icon:

Left-click to drag a rectangle represented by the area shown below:
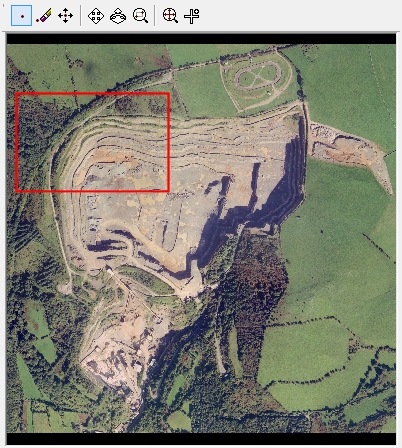
The view should now be similar to the following:
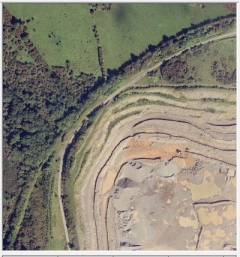
It does not have to be completely accurate, provided that most of the supply road is visible.

You can use the mouse wheel at any time to zoom the image preview in and out.
Select the Add Point button at the top of the dialog:

Left-click the junction of the main supply road and pit access lane, as shown below. Get as close to the specified point as possible - a reference point crosshair and "1" indicator will be displayed:
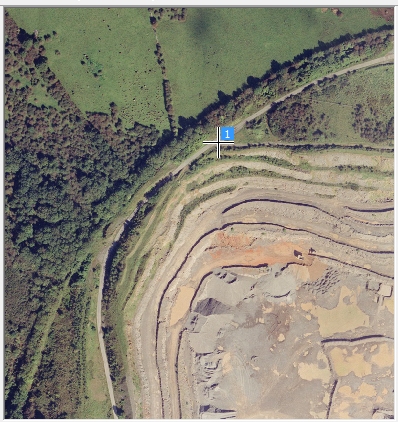

Note that a new row has been added to the table below - this will be explained in more detail below.
Use the Zoom Fit icon to maximize the texture to the screen:

Next, magnify the area detailed below, using the Zoom Area function as previously demonstrated:
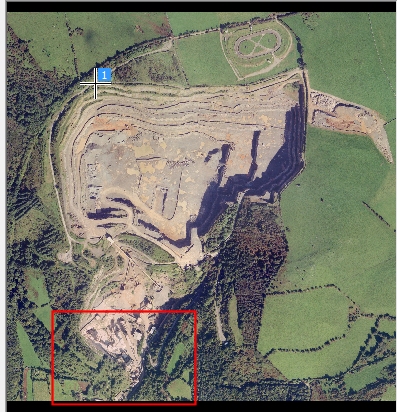
Use the Add Point function to left-click at the point shown below:
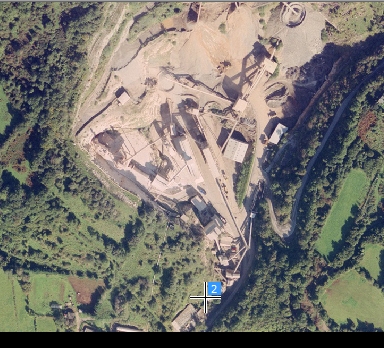
Use the Zoom Fit icon to maximize the texture to the screen:

Zoom to show the full image again, and zoom into the final area:
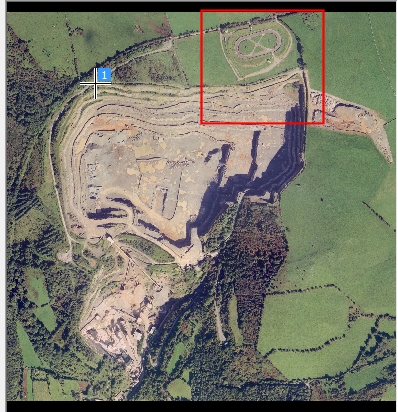
Add a third and final point at the position specified below:
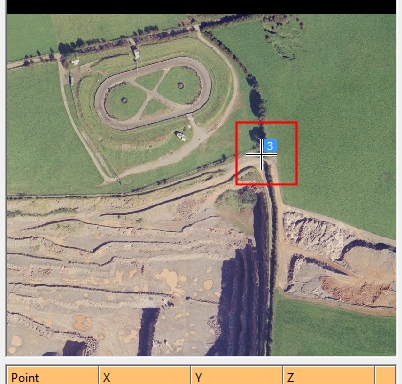
- The editable table at the bottom of the screen currently shows zero values for X, Y and Z for each point. This is the result of reference points being assigned to the image but not currently matched to a point in 3D space.
- The coordinates for the digitized points are
known. The table shown below should be edited to show the figures
provided:

- Click OK to close the Image Registration dialog.
- Click OK to close the Texture Drape Settings dialog.
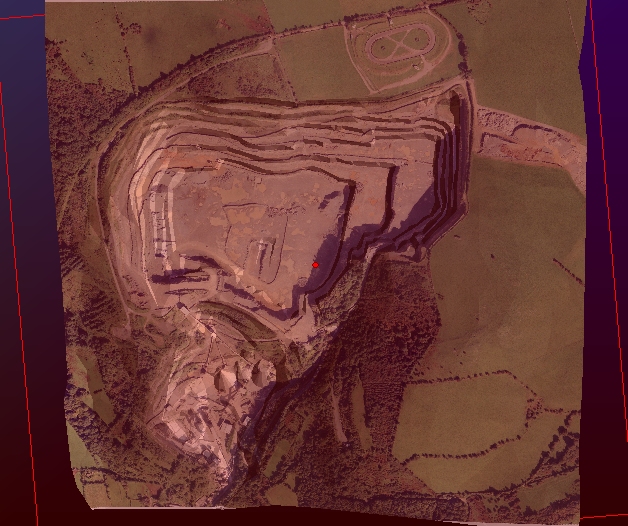
- The textured wireframe should now be visible
in plan view, with a correctly aligned texture:
|
| Related Topics |
| Image
Registration Dialog |


